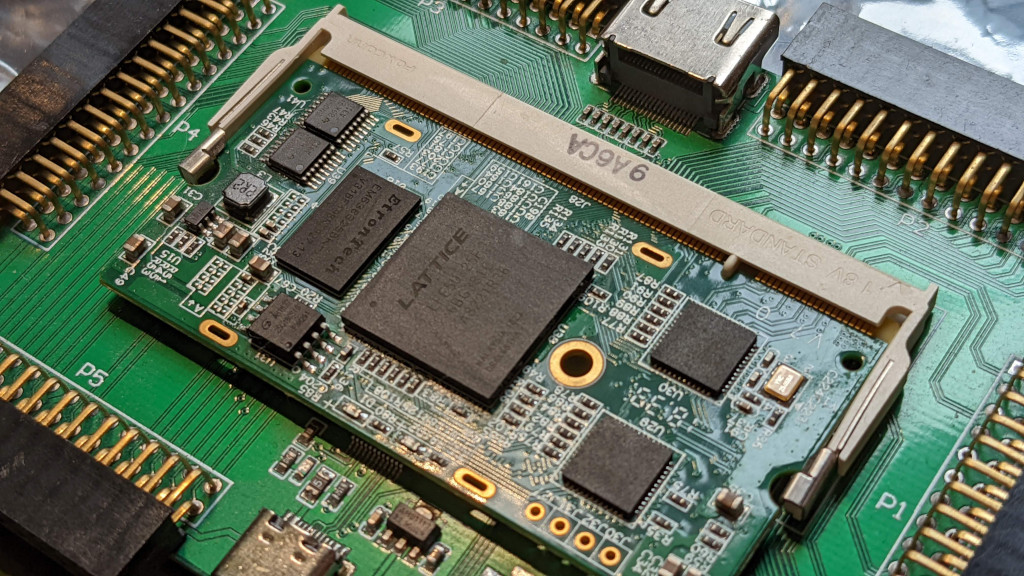
For a couple of months I’ve been slowly building up a little project using some Development boards that include an FPGA, typically once i’ve finished editing my design I run all my simulations, tests and then check I can still build the firmware. While running these manually before each commit isn’t typically much an issue, I wanted to automate this.
The project i’m working on uses a ColorLite i5 FPGA board, this with it Lattice ECP5 FPGA allows me to use a set of Open source tools to test and build my FPGA images. For simulations I’m using Verilator, while for creating the FPGA images I’m using a combination of Yosys and Next-PNR. These excellent tools allow me to make use of the GitHub actions to test my FPGA images with very minimal effort.
While my simulations require a couple of commands so these are contained to a makefile, the commands to build the FPGA image are very simple.
yosys -p 'synth_ecp5 -json top.json' -S firmware/top.v
nextpnr-ecp5 --25k --package CABGA381 --json top.json --lpf firmware/colorlight.lpf --textcfg out.config
To build the FPGA image is a simple task of running my ’top.v’ verilog file though yosys, before doing place and route with nextpnr, which again is a single line. These simple lines allow me to test if I can build my design, as long as they don’t return any error, then the build is successful.
The GitHub actions are based on YAML files, which contain details of the container that the image is being run on, and the commands that are run for that image. These files are stored in the folder .github/workflow in the GitHub repository, I have two, one which runs the Simulation and one which build the FPGA Image.
We will talk though the build firmware Github Action, which I have called Build Firmware. I have decided that this should be run whenever I push the repositry, for Pull requests and on demand. So we define the name of the action, and add the description of when it should be run, the workflow_dispatch allows me to manually trigger it being run.
name: Build Firmware

on:
  push:
  pull_request:
  workflow_dispatch:
With the name, and when the action should be run defined, we move onto defining the action. For my build we need to define the job and the build. For this I am running on Ubuntu Latest as my image.
jobs:
  build:
    runs-on: ubuntu-latest
Now that we have the image we are running on we need to add the dependancies that are required for building out FPGA image. First step is to checkout our repository we are running from with the
uses: actions/checkout@v2, which will get our repo using the default settings without any issues. With both Yosys and Next-Pnr needed to build the image, the next step is a little different to what I originally had planned. I thought that I would need to build these tools from source like I would on my own computer, but that is very time consuming, and I came across some pip packages, which installs them much quicker. This reduces build time, which on private repo’s on GitHub are billed after you are passed your allowance.
- uses: actions/checkout@v2
- name: Install the required Tools
run: |
	sudo -H pip3 install yowasp-yosys
	sudo -H pip3 install yowasp-nextpnr-ecp5-25k
One problem I did come across when installing these packages, was that if I ran these pip3 install commands without sudo, then the commands that I need then aren’t available. Running with sudo solves this issue although i’m not sure why.
Now we have all the tools in place we can now run both yosys and nextpnr, using the commands specific to the yowasp-yosys and yowasp-nextpnr packages, which are a little different to the standard commands I would use on my own Laptop.
- name: Run yosys on the files
	run: yowasp-yosys -p 'synth_ecp5 -json top.json' -S firmware/top.v
- name: Run Place and Route
	run: yowasp-nextpnr-ecp5 --25k --package CABGA381 --json top.json --lpf firmware/colorlight.lpf --textcfg out.config
We can then pull all those components into a single FirmwareBuild.yaml file in the .github/workflow folder, which is then run on each push to the repo. The current design is very simple, but runs in a little over 30 seconds for the build, this makes running on each push manageable, but as the firmware design continues to grow, I may look to only run on Pull request.
name: Build Firmware

on:
  push:
  pull_request:
  workflow_dispatch:

jobs:
  build:
    runs-on: ubuntu-latest
    steps:
      - uses: actions/checkout@v2
      - name: Install the required Tools
        run: |
          sudo -H pip3 install yowasp-yosys
          sudo -H pip3 install yowasp-nextpnr-ecp5-25k
      - name: Run yosys on the files
        run: yowasp-yosys -p 'synth_ecp5 -json top.json' -S firmware/top.v

      - name: Run Place and Route
        run: yowasp-nextpnr-ecp5 --25k --package CABGA381 --json top.json --lpf firmware/colorlight.lpf --textcfg out.config
The GitHub action for running the simulation is very similar, but instead of pip3 install for the build tools, I require Verilator which is available to install using apt. As the code to run my Verilator tests is identical between how i run it on my computer and in the GitHub action, I just us my make command to run the tests.
name: Simulate Firmware

on:
  push:
  pull_request:
  workflow_dispatch:

jobs:
  test:
    runs-on: ubuntu-latest

    steps:
      - uses: actions/checkout@v2

      - name: Install Verilator required for the simulation
        run: sudo apt install verilator

      - name: Run the Serial Test
        run: |
          export VINC=/usr/share/verilator/include
          make test-serial
My next step for the these GitHub Actions, is to look at extracting some statistics from particularly the build process. I’m interested in monitoring the FPGA utilisation and frequency that the design can be run at, being able to see the effect of each pull request would be advantageous for keeping an eye on how well my design is coming together and the effect of different changes.
