The raspberry pi cluster was built several years ago for some projects I was doing at the time, and experimenting with parallel computing. While the little raspberry pi’s were never going to keep up with a proper PC, they were great for experimenting with the principles of parallel computing, being it making use of the multiple CPU cores on each device or trying to spread the calculation over multiple raspberry pi’s. At thats all alongside the battle of dealing with the headache of moving data over a network efficiently.
Testing out some new GNU Octave code on my Raspberry pi cluster #RaspberryPi #Cluster #GNUOctave pic.twitter.com/c9OT9g9Ijb
— James Horton (@JamesjHorton) March 30, 2016
After a couple of years on off experimenting with the raspberry Pi’s, when we ,moved to our new flat they ended up sat on the home network, and being used for odd jobs, one even had a old external hard drive attached to provide some Network Attached Storage when I need to move files around. After a reorganisation of the home office they need to find a new home, but having never been put in any sort of case they were not very portable, held together by some velcro.
Having recently purchased an Ender3 3D printer at the start of the year, it seemed like a good use for the printer to build something a bit more rugged for the Raspberry Pi’s to live in. Having a quick look on Thingevers, I came across the Six Inch Library, these cases are all designed to fit into a six inch rack mount that is completely 3D printable.
With a large selection of cases available, I had no problem in finding a suitable couple for both the Raspberry Pi’s and the power supply. Although I decided that there could be some small improvements made to make they more suitable for what I was trying to do. A couple of problems I had always had with my cluster was trying to keep a tab on the basic information for each of the Pi’s. Information such as Ip address, Memory usage and temperature, and I had always wanted to work out how to attach a screen to one of them to give me a health check at a glance.

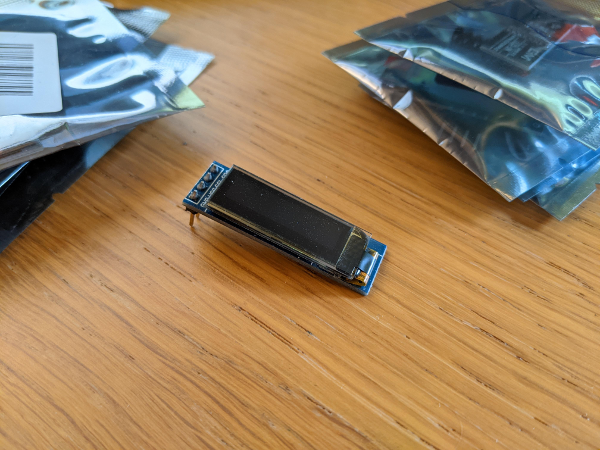
As each of the Pi’s was going in there own case, I went hunting for some displays a could try and mount on the front of each of the cases, and found some small OLED screen on EBay, which gave me 4 lines of text. This was more than enough to display the information I was looking for, I just had to make a custom font panel from the six inch library.


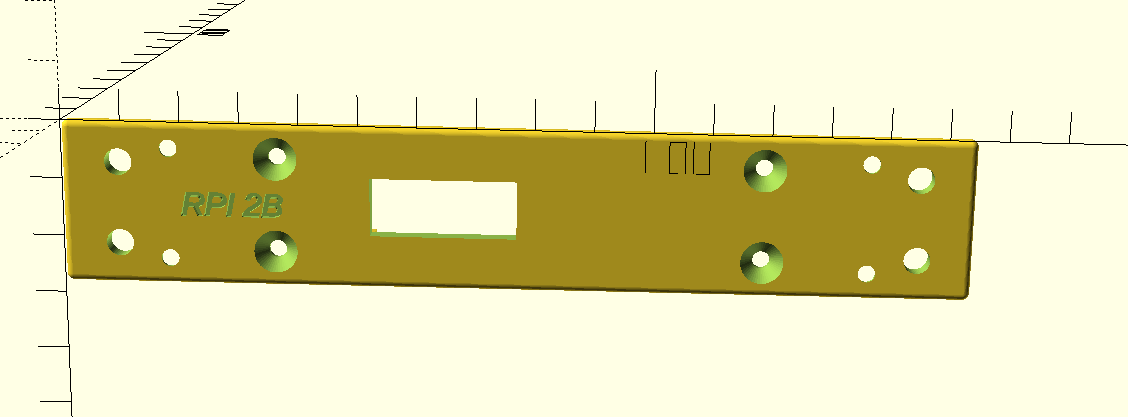
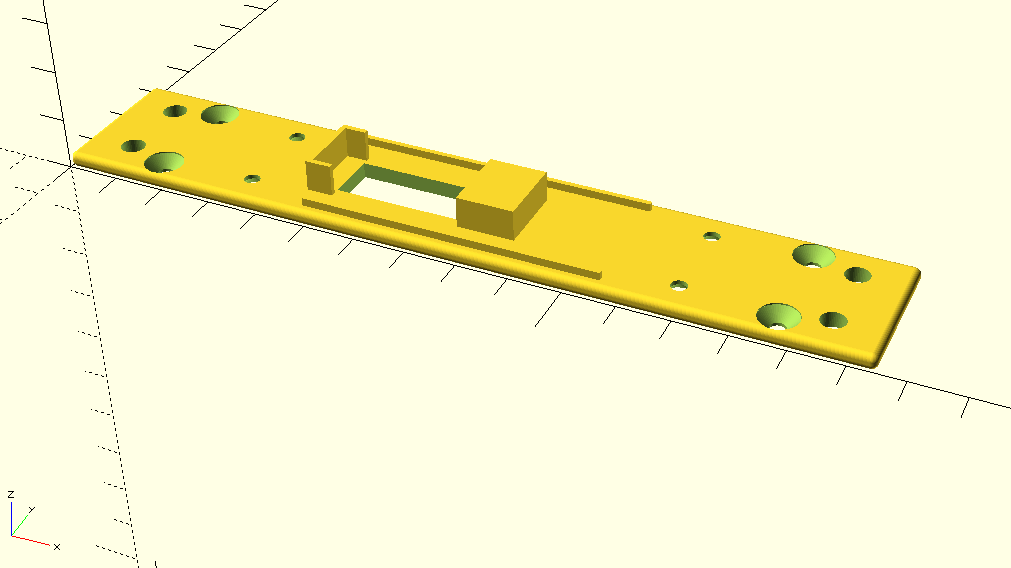
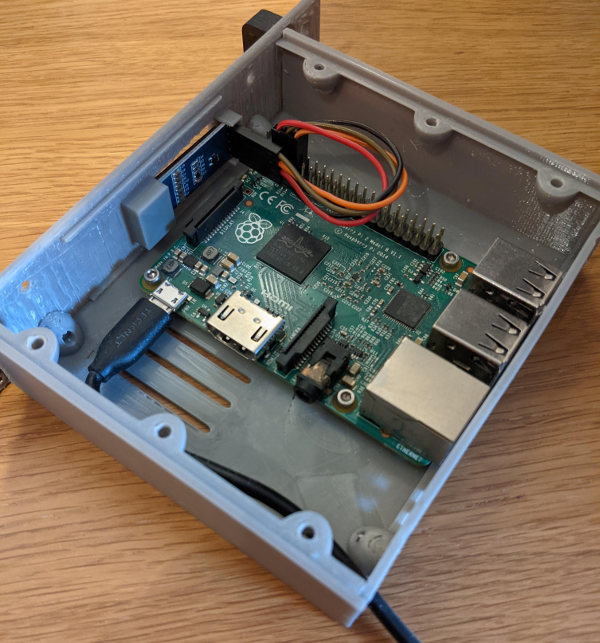
The Six Inch Library is written in OpenSCAD, which worked well for me, as its programming interface combined with a quick hunt on google allowed me to be able to cut the hole of the screen and build a slot for it to sit in behind, so it could be slotted in without the need for lots of screws. It took 3 attempts to get it to all to fit together correctly, having messed up the measurements and then not allowed enough space to clear the Raspberry pi sitting behind it in the case, and getting the wires from the display round to the GPIO pins.

Having got this together, all that was left it to get the software running to display on the screens, thankfully the screens are very common and there is already a library for them to get it all up and running. The screens are the same as the adafruit ssd1306, and the Adafruit examples and even included example displaying the information I was looking for. Having swapped out the Disk usage for the temperate and added the CPU frequency all was complete for the Raspberry Pi’s.

Adding the python to the crontab to run at reboot, so the display come up when the cluster is powered on, and the code running in a loop to keep it updated it was job done.
My 3D printer has been busy the last couple of weeks, printing cases for my old Raspberry Pi 2B cluster that I'm bringing back to life #raspberrypi #cluster #3Dprinting pic.twitter.com/xJ0SoTG4NS
— James Horton (@JamesjHorton) March 4, 2020
Now that it is completely assembled as a single unit, I can hopefully move it around a bit easier, I’m hoping to spend some time revisiting some of my old projects I once used the cluster for and see how much more performance I can get out of it now I understand what i’m doing with Python a bit more.