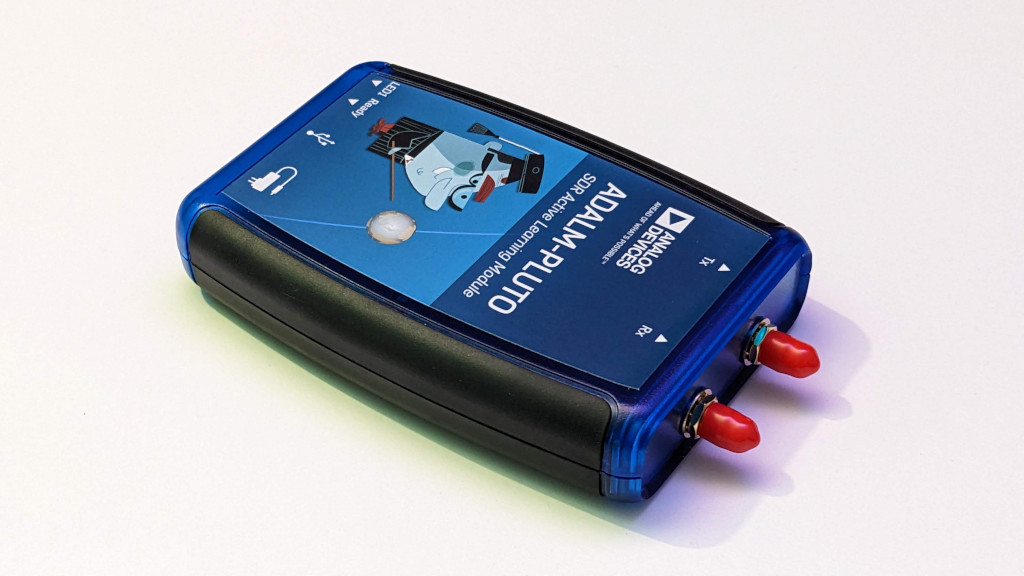
The Pluto SDR is available from a number of suppliers, I got this one from mouser, and the stock was recent enough to be one of the current version, which allows access to a great extra feature, a second Receive and Transmit Chain. All that is required is a few modifications that can be done at home to allow physical access and then enable the ports.
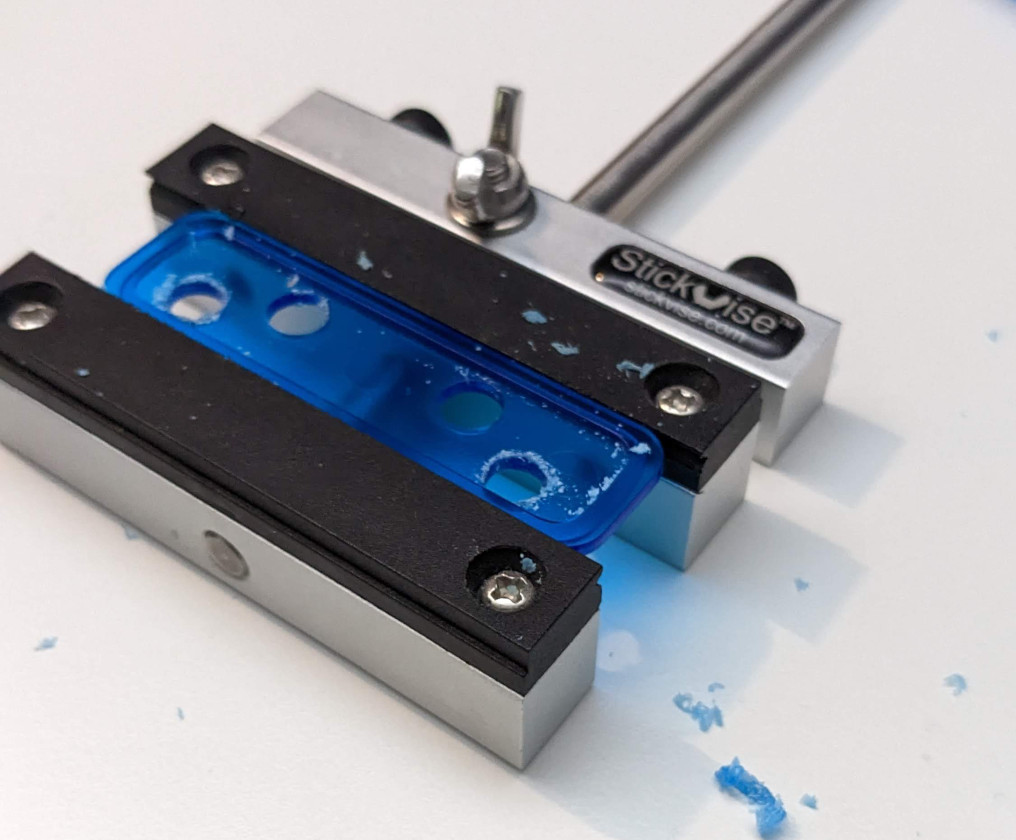
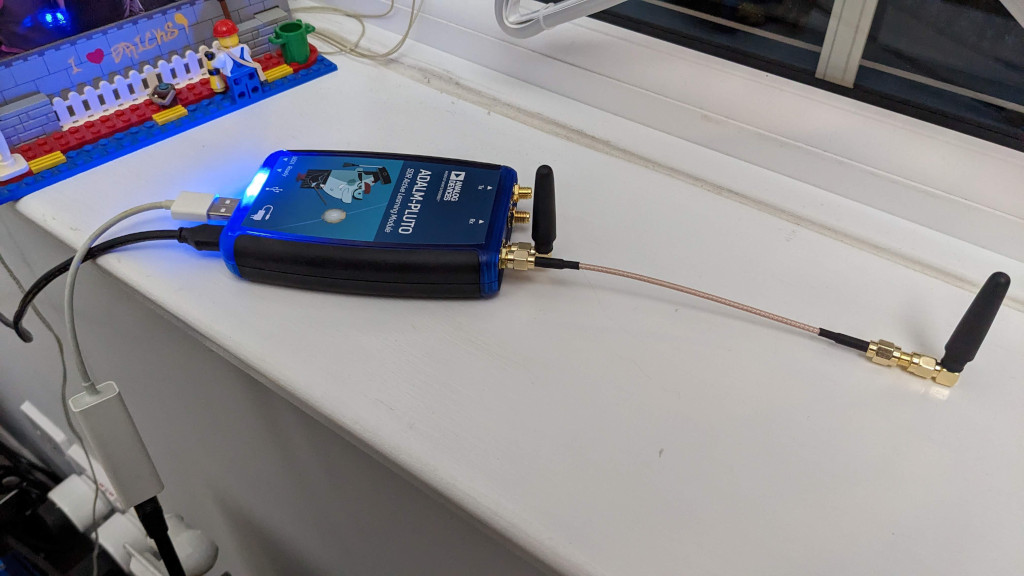
The first step for me was adding in the physical place for the SMA connectors that will take the signal out of the case, for this I drilled two holes to drop the panel mount connectors. I chose to place these either side of the existing RF connections, but there are plenty of options that could be done here.
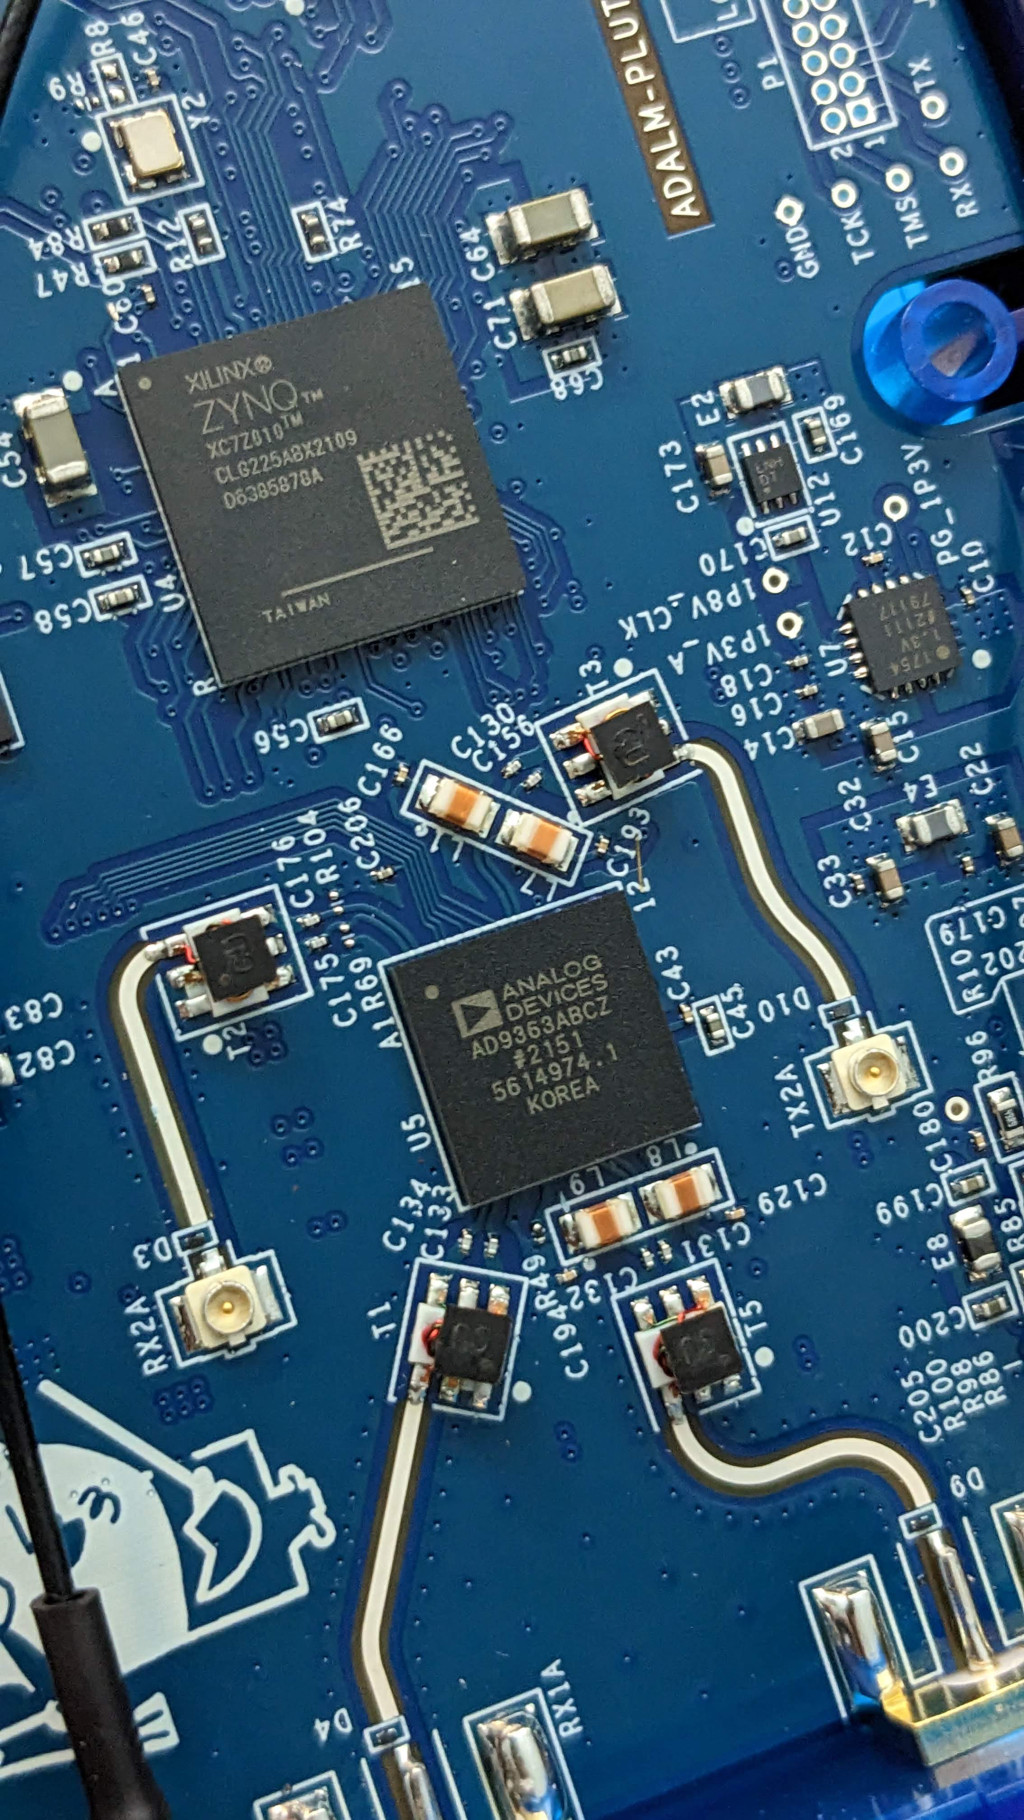
With the holes for the connectors, next up is finding and mounting the cables to break out the RF connections from the board. This is where I use some ufl to sma cables from amazon, which mount from the PCB straight into the new holes in the case.
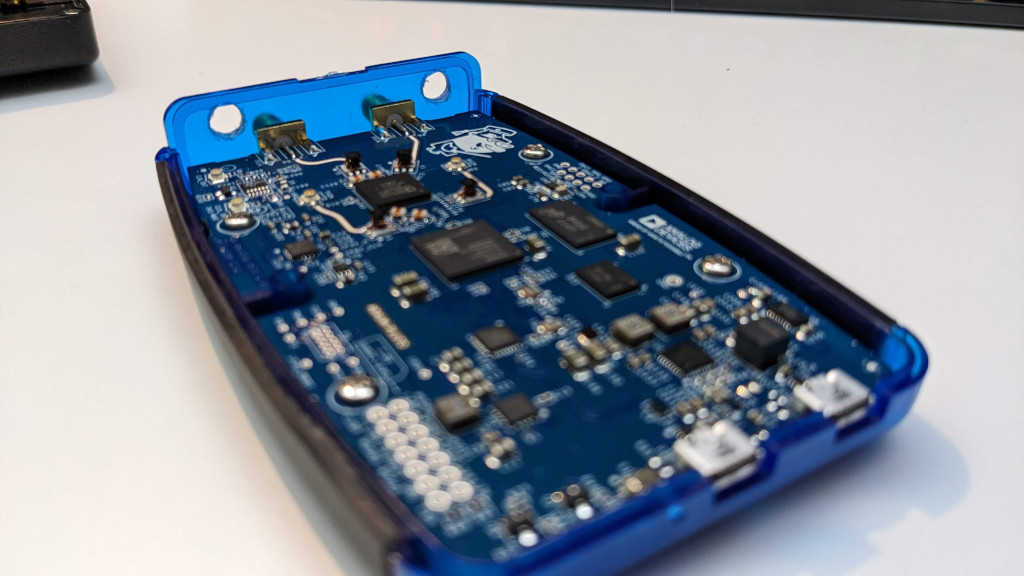
With those in place it is just a case of making sure the excess cable can fit inside the case, and getting everything closed back up again.
We do need to deal with the firmware side of the Pluto SDR, to enable the extra channel and update to the latest firmware which supports 2 channel operation as the firmware that came on my device was old enough it wasn’t supported.
fw_setenv attr_name compatible
fw_setenv compatible ad9361
fw_setenv mode 2r2t
reboot
check that the following command returns mode=2r2t to confirm that 2 channel operation is enabled
fw_printenv mode
For testing the two channel receiver the first attempt used the libiio drivers on my PC, which just requires using the ’libiio’ package installed using apt on the system and then the pyadi-iio package.
sudo apt install libiio-dev
pip install pyadi-iio
With those setup I need to configure the pluto SDR with an IP address, this is so that I can connect to it over my home network, this is a simple case of plugging in with a USB cable and editing the text file on the drive.
[USB_ETHERNET]
ipaddr_eth = 192.168.0.12
netmask_eth = 255.255.255.0
As i have my pluto setup on my home network using a USB to ethernet adapter my code uses the pluto’s IP address to look it up and stream data other my home network back to my PC which I access it from.
import adi
import matplotlib.pyplot as plt
import numpy as np

# Create radio
sdr = adi.ad9361("ip:192.168.0.130")

samp_rate = 5e6

sdr.rx_enabled_channels = [0, 1]
sdr.sample_rate = int(samp_rate)
sdr.rx_rf_bandwidth = int(10e6)
sdr.rx_lo = int(2.45e9)
sdr.rx_buffer_size = 8192
sdr.gain_control_mode_chan0 = "manual"
sdr.gain_control_mode_chan1 = "manual"
sdr.rx_hardwaregain_chan0 = int(20)
sdr.rx_hardwaregain_chan1 = int(20)
samples = sdr.rx() # receive samples off Pluto

x = sdr.rx()
a = np.real(x[0][:])
b = np.real(x[1][:])

corr = np.correlate(a,b, mode='full')
plt.plot(np.abs(corr))
print(np.argmax(corr))
plt.show()
With that I was able to receive two channels in python on my Pluto SDR, my next challenge will be getting connected in GNU Radio, and building up some real world examples.
A great references I came across that helped me get setup, particularly when I was trying to get both the channels working in python was a blog post on nuclearrambo.com.