The IKEA Vindriktning is an air quality sensor sold for just £13, that makes use of a PM1006 sensor inside to detect particle matter in the air. Normally the readins from the sensor are displayed on one of 3 LED’s on the front of the unit, but here we are looking to collect this data and add it into Home Assistant .
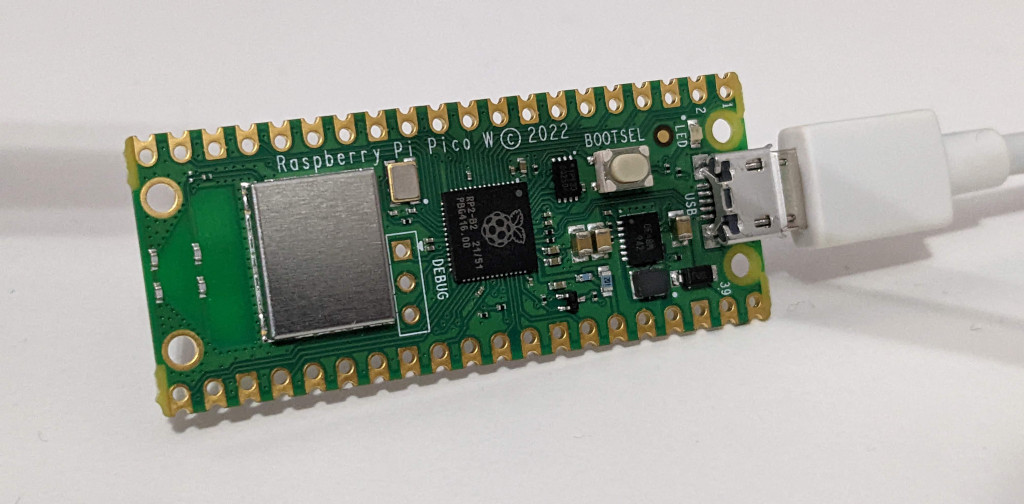
There are a large number of posts and instructions avalible online for modifying the IKEA Vindriktning or removing the PM1006 sensor and building a Home Assistant integrated sensor using an ECP32 module. While I could have followed one of these, i actually had a spare Pico W that I brought at release and had never used, so my task was use this after seeing a video on YouTube where the RP2040 was used to monitor a garage door.
The first task is a matter of getting the sensor apart so that we can connect the sensor up to the Raspberry Pi Pico W. The back of the sensor is just secured with 4 screws, and with those removed it simply pulls apart, and we can see the sensor and the controller PCB inside.
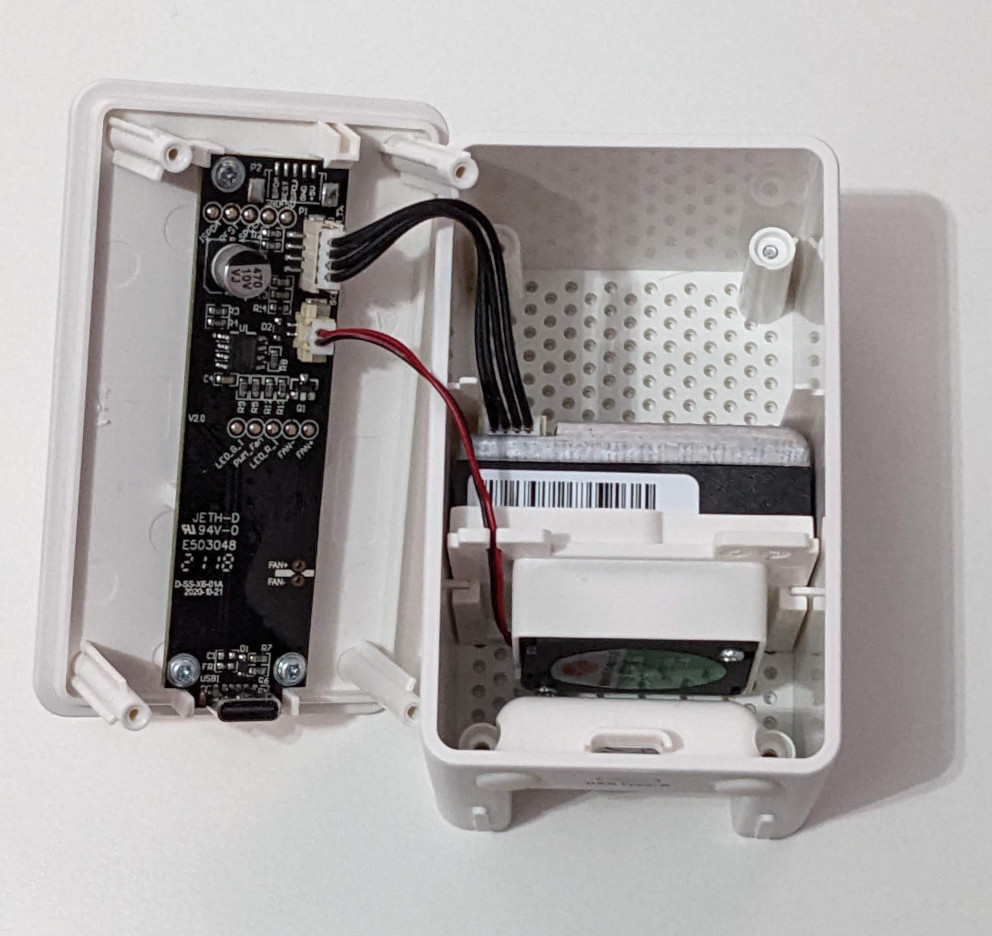
There are a number of options as to how I could have made use of the sensor, I chose to make use of the simplest which leaves the original electronics intact. The reason for me choosing this method is that I wanted to keep the functionality of the sensor the same that it was before, so that the front LED remains the same and the power USB-C plug still powers the whole device. This is the easiest method, requiring the attaching of 3 wires to some exposed pads on the PCB, for serial, power and ground. The wires on the IKEA Vindriktning just need to be connected to the 5V, GND and REST pins on the PCB.

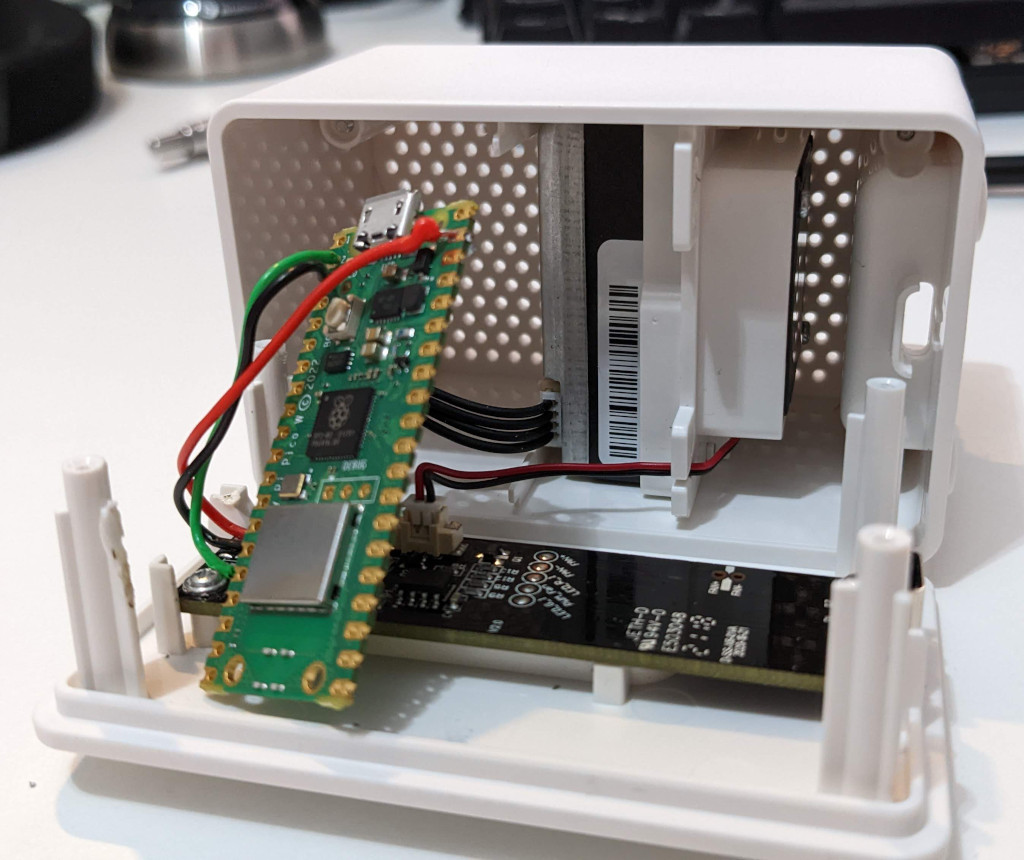
With the wires attached to the sensor’s PCB, we now need to hook them up to the Raspberry Pi Pico W, we need to attach the Power and GND to appropriate pins and then the serial need to be attached to an appropriately capable pin, I selected the following:
| Ikea Vindriktning | Raspberry Pi Pico W |
|---|---|
5V |
VSYS |
GND |
GND |
REST |
GPIO1 |
Now with the modification complete we just need to flash the software onto the Pico W, before we seel the unit up.
For the next step we need to use ECP home from within Home Assistant which in my case all runs on a Raspberry Pi 4, I’m running the development version of ECP Home, as this has support for the Pico W, which should be available in the standard version soon.
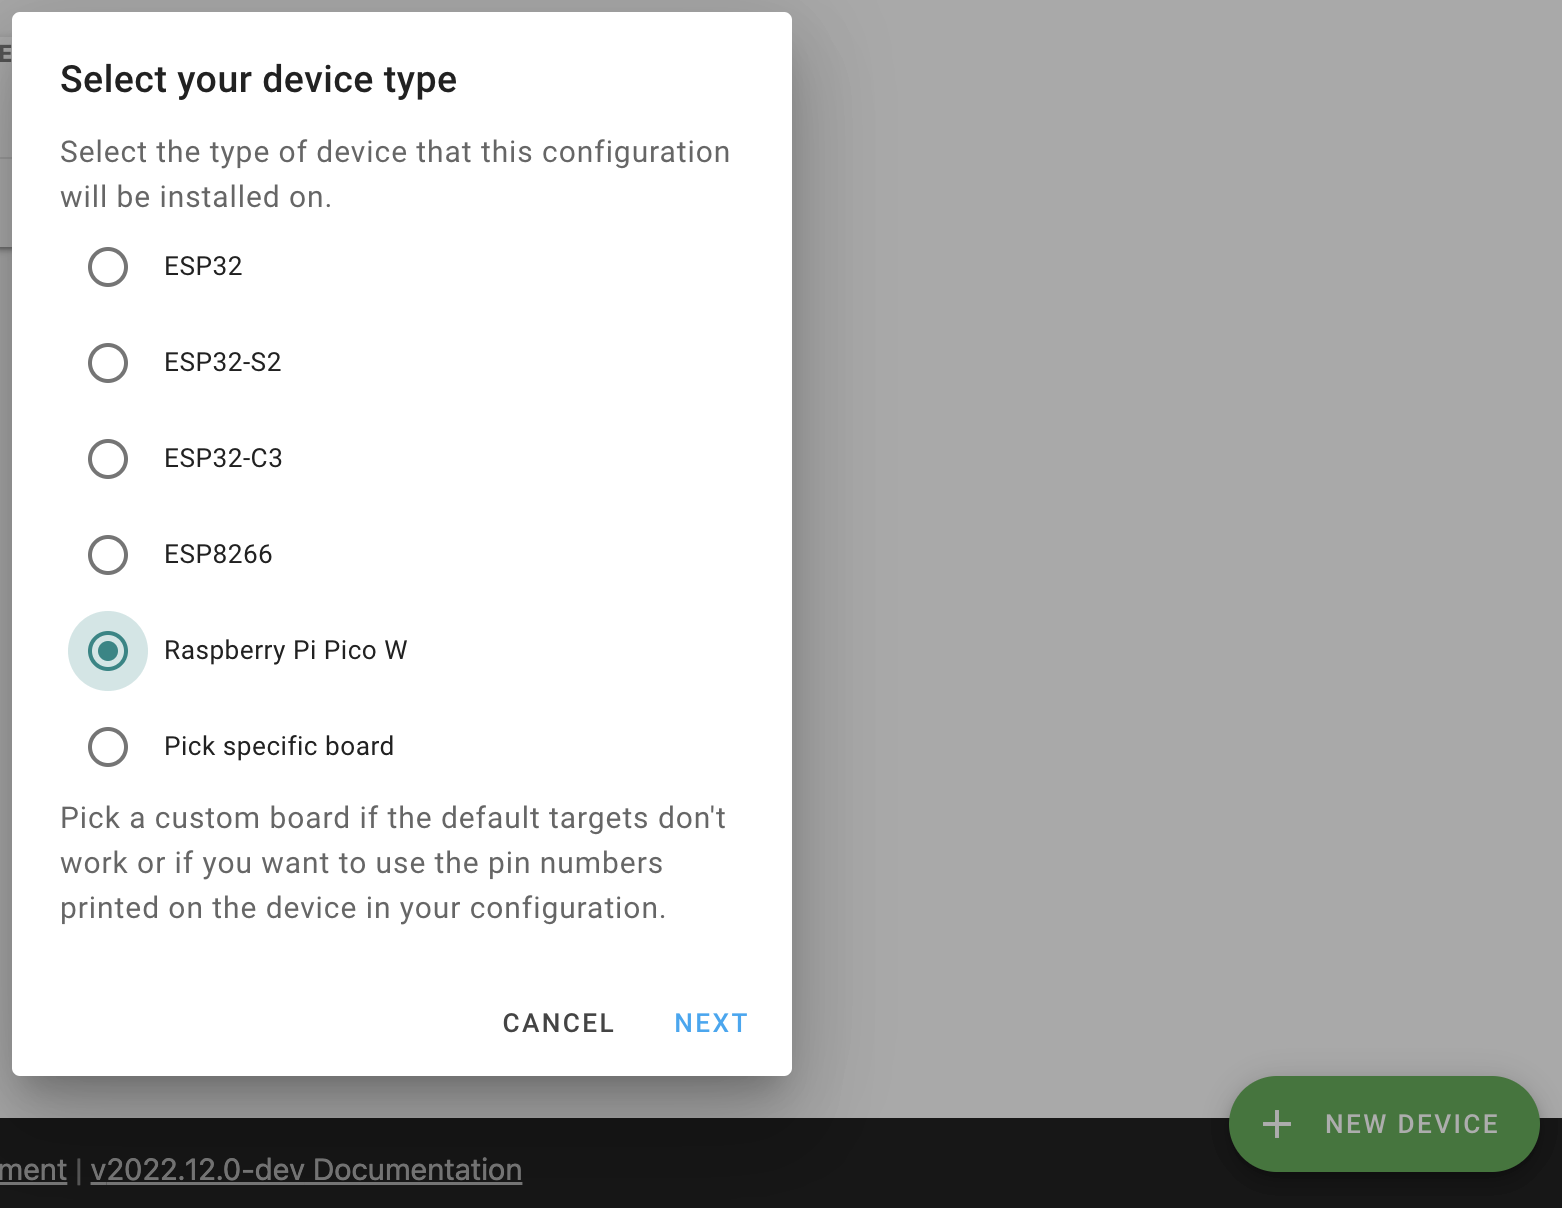
To build the setup I’m using the following configuration YAML file, this is made up a a few copy and pastes from a few locations on github that I failed to note down, but essentially it is using the rp2040 platform on the rpipiow board, with enabling of the over the air updates (OTA) and the Home assistant API enabled. The most import settings to note as the UART and the sensor definition, which makes use of the same definitions that would have been used on the ECP32 boards, while setting the serial port to the GPIO pin we soldered the connector to.
esphome:
  name: ikea-sensor

rp2040:
  board: rpipicow
  framework:
    # Required until https://github.com/platformio/platform-raspberrypi/pull/36 is merged
    platform_version: https://github.com/maxgerhardt/platform-raspberrypi.git

# Enable logging
logger:

# Enable Home Assistant API
api:
  encryption:
    key: "Key here"

ota:
  password: "Password Here"

wifi:
  ssid: !secret wifi_ssid
  password: !secret wifi_password

  # Enable fallback hotspot in case wifi connection fails
  ap:
    ssid: "Ikea-Sensor Fallback Hotspot"
    password: "e3kxZDktrp64"

uart:
  rx_pin: GPIO1
  baud_rate: 9600

sensor:
  - platform: pm1006
    pm_2_5:
      name: "Particulate Matter 2.5µm Concentration"
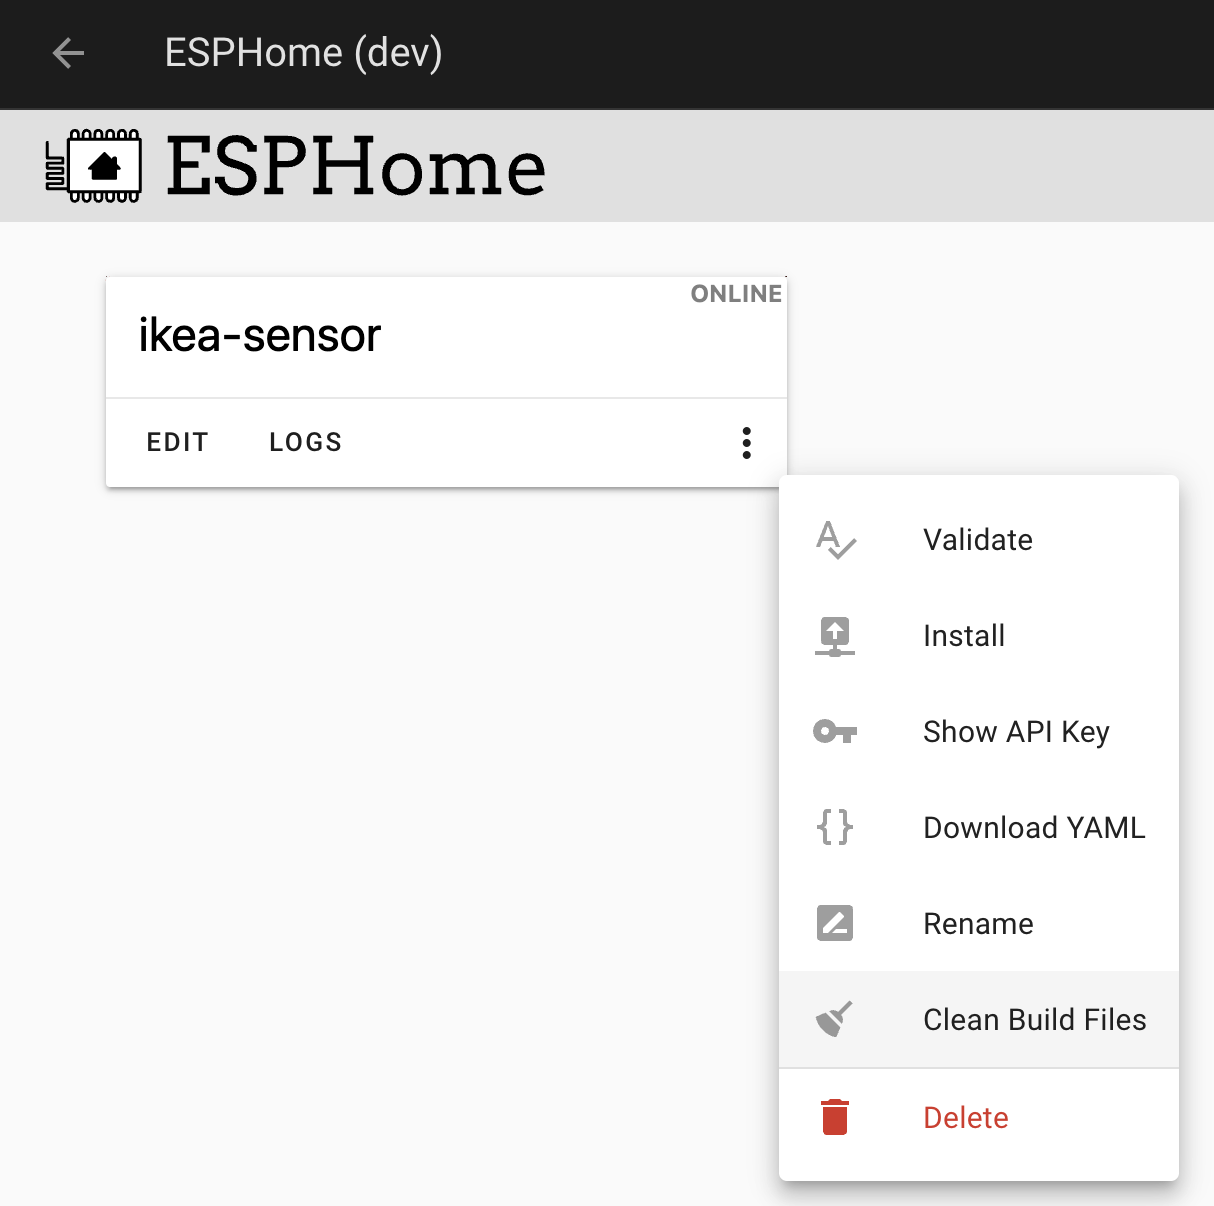
We just need to build the required image from within ECPHome using the Clean build option in the menu, then downloading from home assistant and onto the Pico W board using the .u2f file that just needs to be copied to the Pico W using its built in Micro USB port, using the bootsel option.
It is worth noting that on my Raspberry Pi 4 which hosts my Home Assistant instance it took a good 10 minutes to build the image for the Pico as it needed to download all the required tools to build it first.
With that all complete, it was then just a case of being able to squeeze the Pico W into the top of the IKEA Vindriktning and attach the USB-C cable to provide power, within a couple of minutes it was showing in Home Assistant and I was able to add it to my dashboard.
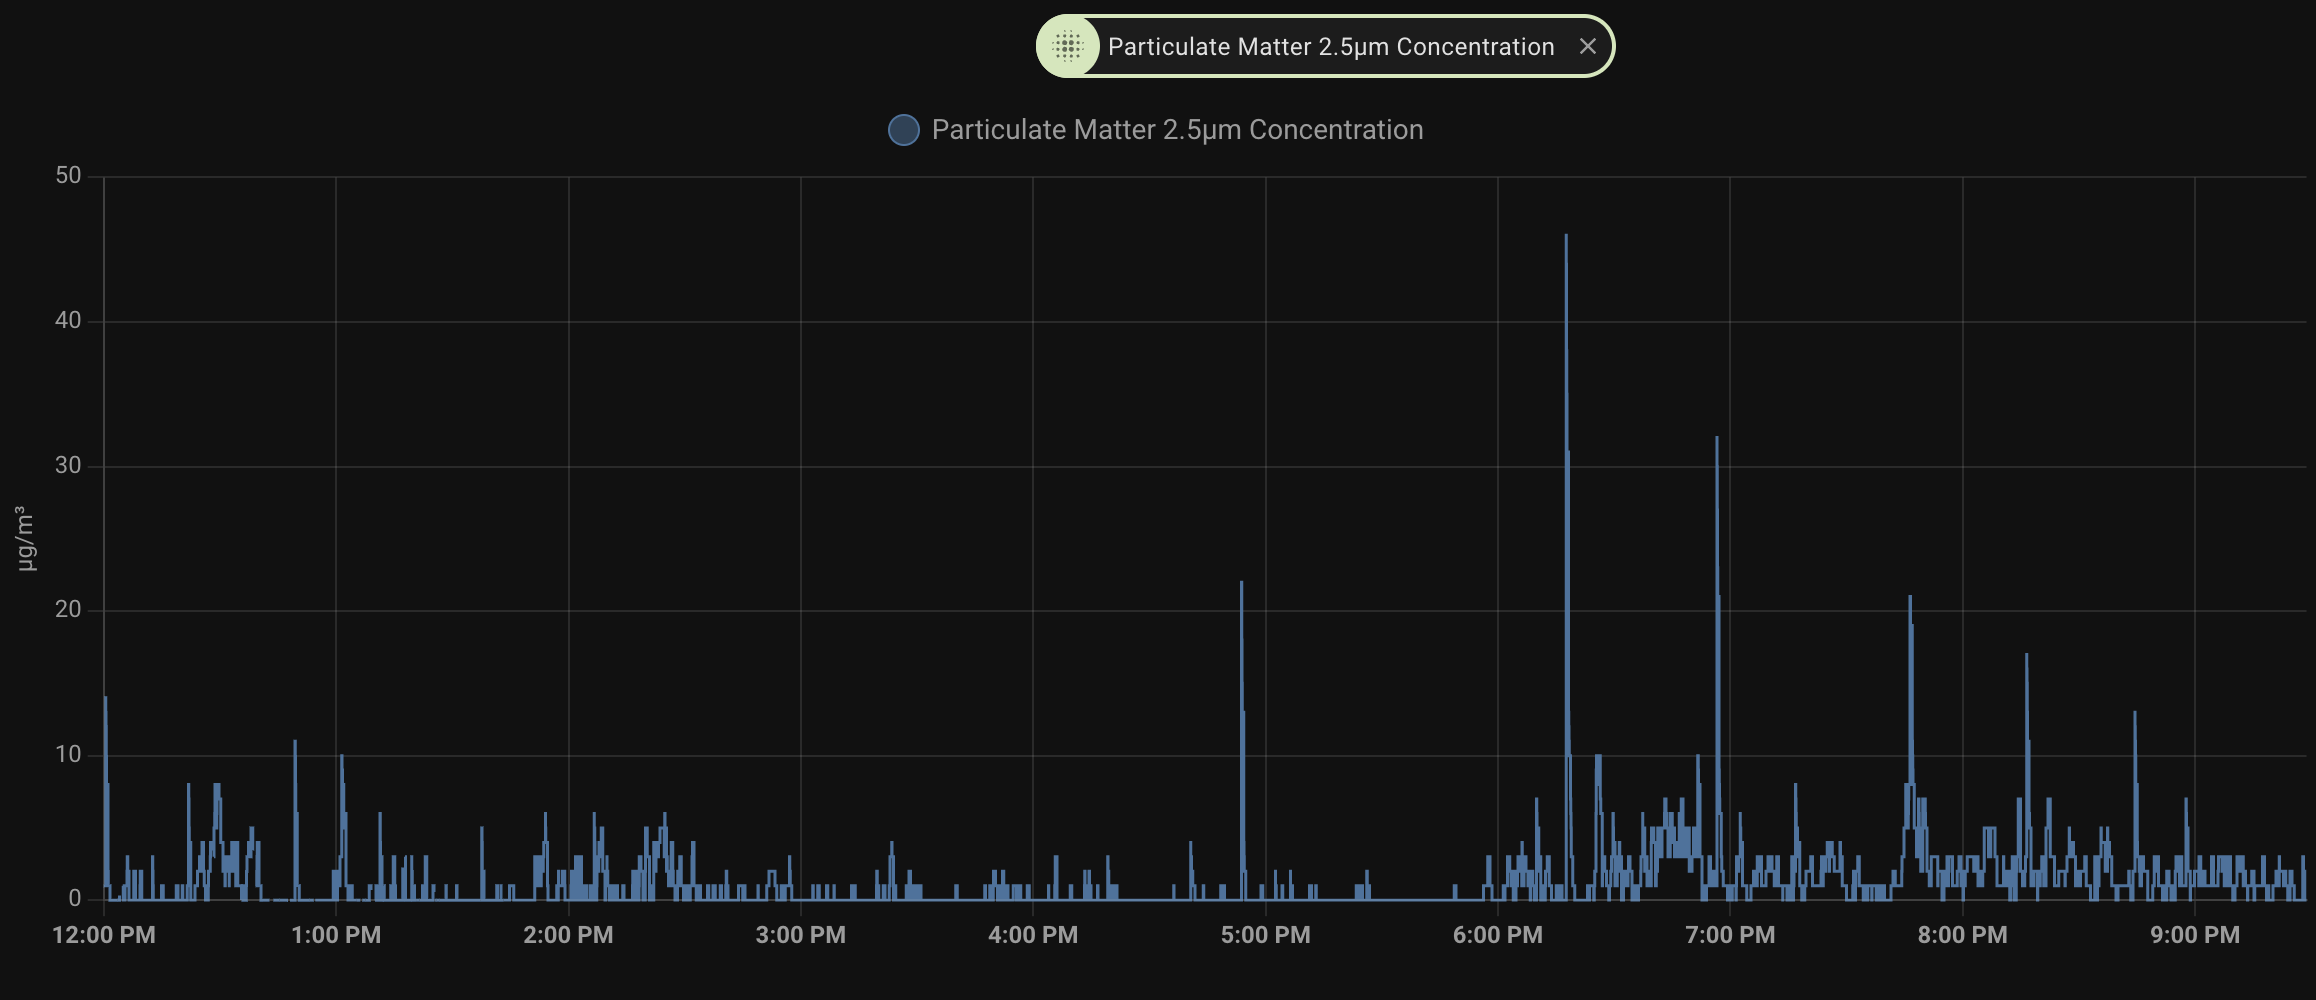
The data doesn’t look to bad and is updating frequently, I’m planning to set up a notification to warn me if the sensor is giving some consistent high readings so that I can do something about it. I will wait a week to two to build up enough background data to be able to add some reasonable limits.